Step-by-Step Guide to Building a Stone Walkway
Building a stone walkway in your yard is a great way to enhance both the beauty and functionality of your outdoor space. A well-constructed walkway can make your garden more accessible and add a touch of elegance to your landscape. Whether you're connecting different parts of your yard or leading visitors to your front door, a stone walkway can be a charming addition to your home.
In this article, we'll walk you through the essential steps needed to build your very own stone walkway. From the initial planning and design to gathering materials and completing the construction, you'll get all the information you need to make your walkway project a success. By following these steps, you'll soon have a durable and beautiful path that enhances your yard's appeal.
Planning and Designing Your Stone Walkway
Choosing the Right Path Location and Layout
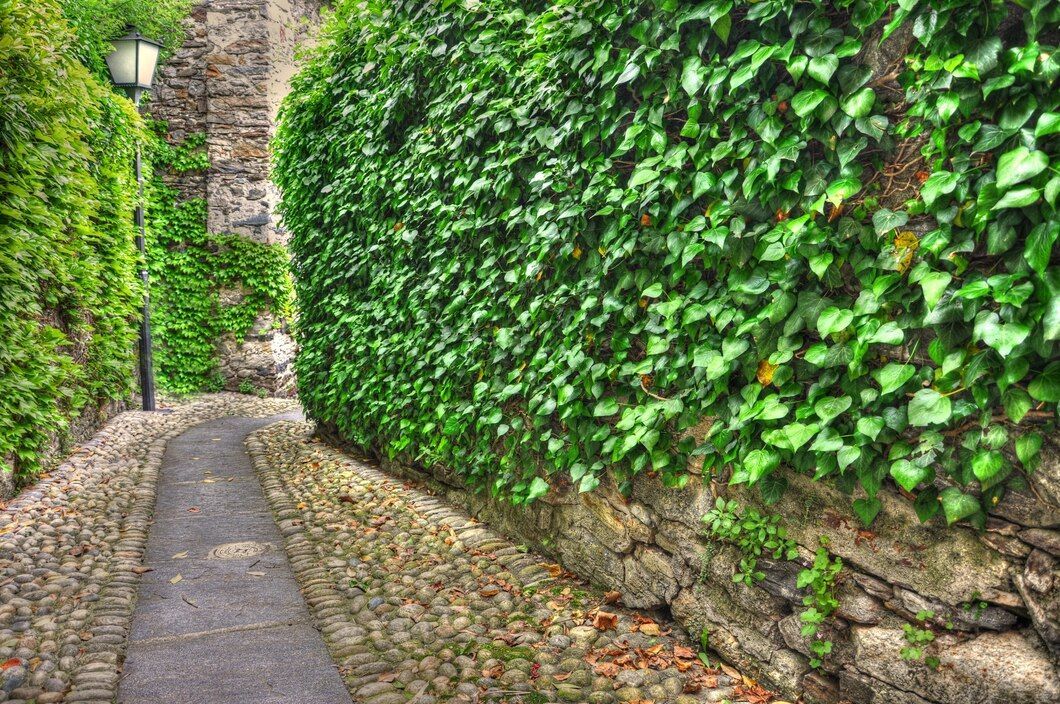
Before you start building your stone walkway, you need to decide where it will go. To choose the best location, think about how you'll use the walkway. Do you want it to connect your porch to your garden, or lead from your driveway to your front door? Walk around your yard and mark the path you most often take. A well-planned path should improve the flow of your outdoor space.
Next, consider the layout. A straight path is simple and direct, but a curved path can add a natural feel to your yard. Use garden hoses or stakes and string to outline the shape of your future walkway. This will give you a visual idea of how it will look and help you make any adjustments.
Selecting Stone Types and Styles
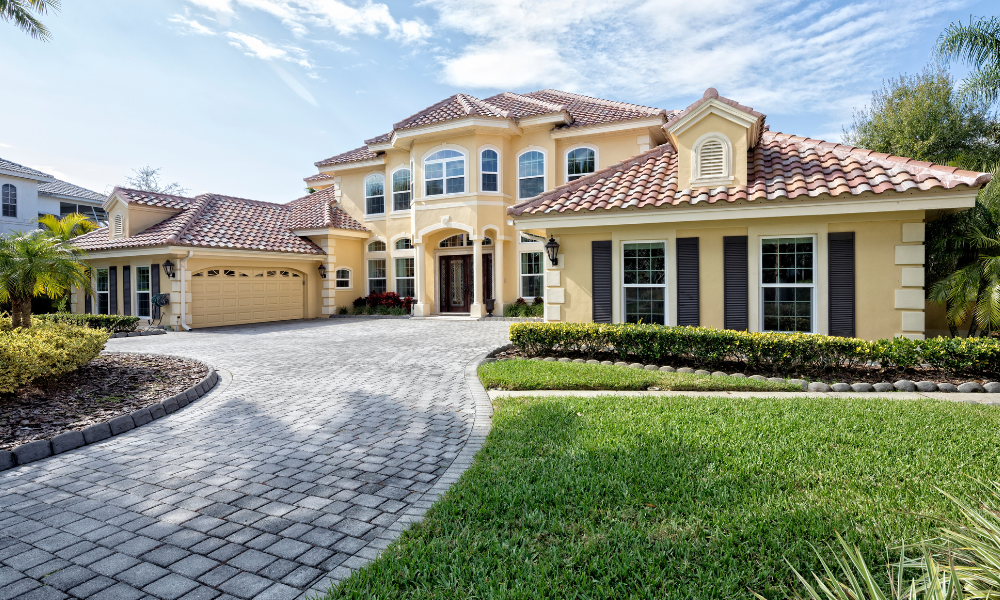
The next step is choosing the stones for your walkway. Different types of stone offer different looks and functions. Flagstone and slate provide a natural and rustic appearance, while granite and bluestone offer a more polished look. Consider the stone’s color, texture, and durability. Pick stones that complement your home’s exterior and other elements in your yard.
Gathering Tools and Materials
Essential Tools You Will Need
Building a stone walkway requires some basic tools. Here is a list of essential tools you’ll need:
- Shovel: For digging out the pathway.
- Wheelbarrow: To move materials like soil, gravel, and stones.
- Level: To ensure your walkway is even.
- Rubber mallet: To tap stones into place without damaging them.
- Tamper: To compact the soil and layers of gravel.
- Garden hose: To mark the layout of your path.
- Measuring tape: To check distances and stone placements.
- Utility knife: For cutting landscape fabric.
Materials Checklist
Besides tools, you’ll need several materials to complete your walkway. Here’s a checklist of what you’ll need:
- Landscape fabric: To prevent weeds from growing through your walkway.
- Gravel: For the base layer that supports the stones.
- Sand: To fill in gaps between stones and improve stability.
- Stones: Choose your preferred type, shape, and size.
- Edging materials: To keep the stones in place and give a finished look.
- Paver edging spikes: To secure edging materials.
Step-by-Step Construction Process
Preparing the Ground
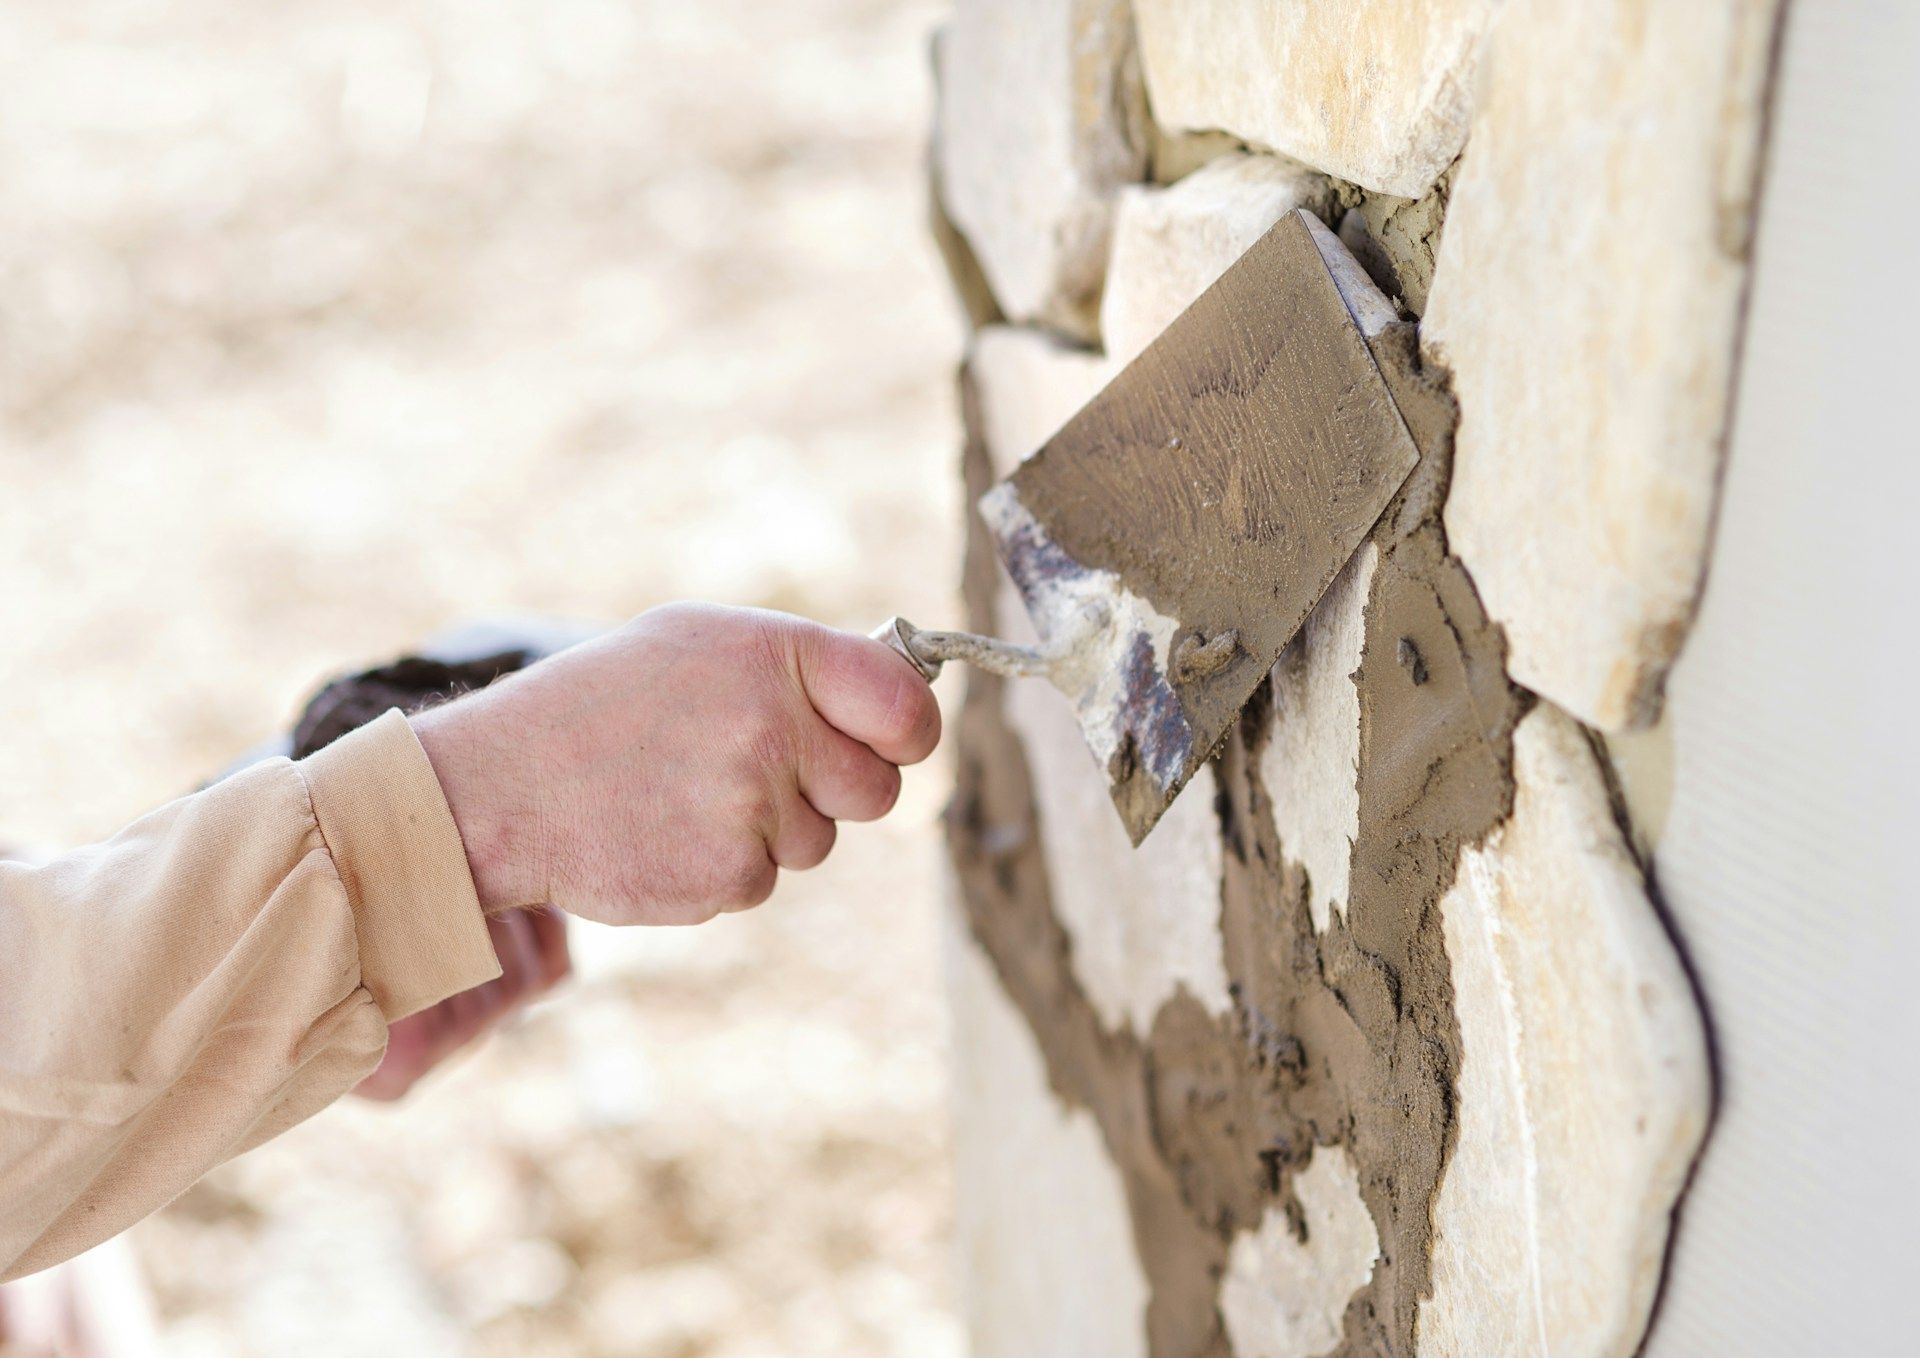
Before laying any stones, properly prepare the ground. Start by removing any grass, roots, or debris from the marked path area. Use a shovel to dig about 6-8 inches deep along the entire length of your walkway. This depth provides enough space for your base layers and stones. Once the area is clear, level the ground using your tamper. Compacting the soil ensures a stable foundation for the walkway.
Next, roll out landscape fabric along the pathway. This fabric acts as a barrier to prevent weeds from growing through the stones. Cut the fabric to fit the shape of your path, and secure it in place with landscape pins.
Laying the Base Layer
After preparing the ground, it's time to lay the base layer. Begin by spreading a 3-4 inch layer of gravel over the landscape fabric. The gravel serves as the foundation, providing drainage and stability for your walkway. Use a rake to spread the gravel evenly, and then compact it down with your tamper. This step is crucial for preventing future shifting and settling.
Placing the Stones
Now comes the exciting part: placing the stones. Starting at one end of the path, carefully place each stone on the sand layer. Arrange the stones according to your planned design, leaving small gaps between them for joints. Use the level to ensure each stone is even with the others. If a stone is too high, remove some sand beneath it; if it's too low, add more sand.
Once all the stones are in place, use a rubber mallet to tap them securely into the sand bed. Make sure each stone is stable and doesn’t rock when stepped on.
Filling the Joints
Finish the construction by filling the joints between the stones. Pour sand over the entire walkway, and then sweep it into the gaps using a broom. This step keeps the stones in place and prevents shifting. After sweeping in the sand, lightly spray the walkway with a hose to help the sand settle. Repeat this process until all the joints are filled and stable.
Finishing Touches and Maintenance
Adding Edging for Stability
Adding edging to your stone walkway is important for keeping the stones in place. You can use materials like metal, plastic, or stone edgers. Place the edging along the sides of the walkway and secure it with spikes or stakes. The edging adds a finished look and prevents the stones from spreading out over time.
Sealing and Protecting Your Walkway
To extend the life of your stone walkway, consider sealing it. A good sealant protects the stones from weathering and staining. Apply the sealant according to the manufacturer’s instructions, usually with a garden sprayer or roller. Allow the sealant to dry completely before using the walkway. This step provides a protective layer that makes cleaning and maintenance easier.
Conclusion
Building a stone walkway can significantly enhance the beauty and accessibility of your yard. By following these steps, from planning and designing to adding those important finishing touches, you can create a stunning path that stands the test of time. A stone walkway not only elevates the aesthetic appeal of your landscape but also adds functionality and value to your property.
Ready to transform your outdoor space? Contact Quality Paving & Masonry today to get started on your
stone walkway project! Our team of professionals is here to assist you every step of the way.